WooCommerce | WordPress | SEO | Web Dedsign | Online Marketing
Latest Posts
-

How to move a comment to another node in Drupal 8
Problem: A customer of mine had two products on his website that where almost identical. He needed to combine the…

What is Search Engine Optimisation (SEO)?
Search engine optimisation (SEO for short), is the process of following certain SEO techniques so that search engines place a…

Avoid This Business Website Mistake Part 1
If operating a successful website is the heart’s desire of every online business owner, how come so many online businesses…

WordPress or Drupal – Which CMS is “better”?
WordPress or Drupal? Which of the two content management systems (CMS) should you choose? You can’t say that one is…

Remove Paypal Express Checkout from Prestashop
In order to remove the PayPal Express Checkout button from the product and shopping cart pages in Prestashop 1.6, you…

How to clear the Firefox browser cache?
This tutorial is written for Mac users, but it should also apply for Windows users. For clearing the cache in…

How to use titanium search with tableviews and listviews
Titanium mobile has a build in search feature for iOS and Android devices. It is mostly used on tableViews or…

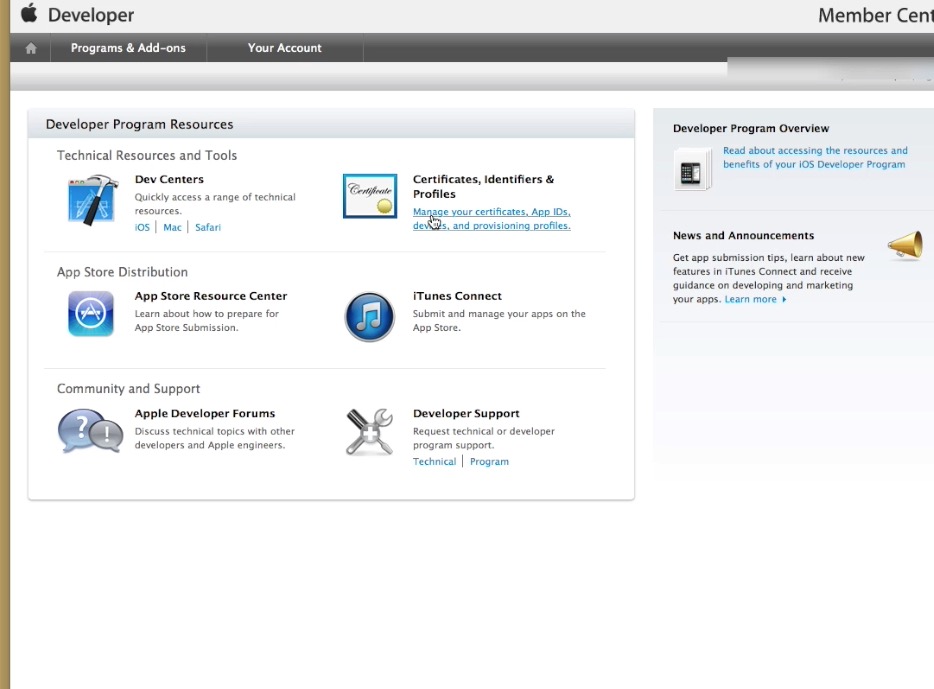
How To Register Your Apple Development Device
In order to test your app on your Apple device you need to register it in your developer program account.…

Add Honeypot to Simplenews subscription form block
The Drupal Honeypot module (https://drupal.org/project/honeypot) works well out of the box for comments and web forms in nodes. In my case i…

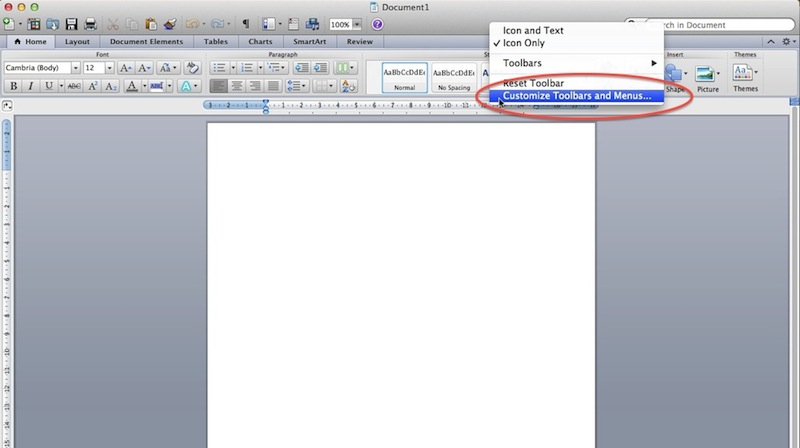
How to customise and restore the Microsoft Word menu on Mac
If you need to make changes to the menu on Word you can rightclick onto the Toolbar and choose ‘Customise…